Laravel in Kubernetes Part 10 - Exposing the application

Our application is now successfully deployed in Kubernetes, but we need to expose it to the outside world.
We can access it locally by running kubectl port-forward svc/laravel-in-kubernetes-webserver 8080:80 and going to http://localhost:8080.
We need to expose our application to the outside world though so our users can access it.
Table of contents
Kubernetes Load Balancer
The primary backing for exposing our application in Kubernetes, is the Load Balancer service type in Kubernetes.
It adds a DigitalOcean load balancer pointing at all of our Kubernetes nodes, which in turn point at our services.
We could simply change the Service type for our webserver service to a LoadBalancer and get a external IP to call it on.
This is not the recommended method of exposing applications, but we'll cover it briefly, just so you know it exists and how to use it.
In our deployment repo, we can update the webserver/service.yml file to have the type LoadBalancer, update it, and see it's external IP be created after a few minutes.
# webserver/service.yml
apiVersion: v1
kind: Service
metadata:
  name: laravel-in-kubernetes-webserver
spec:
  # We can add type LoadBalancer here
  type: LoadBalancer
  selector:
    tier: backend
    layer: webserver
  ports:
    - protocol: TCP
      port: 80
      targetPort: 80
Now we can apply that, and wait a few minutes for the LoadBalancer to be created.
$ kubectl apply -f webserver/
service/laravel-in-kubernetes-webserver configured

$ kubectl get svc
NAME                              TYPE           CLUSTER-IP      EXTERNAL-IP   PORT(S)        AGE
[...]
laravel-in-kubernetes-webserver   LoadBalancer   10.245.76.55    <pending>     80:30844/TCP   12d

$ # After a few minutes (Took 10 on my end) we should see an external IP.
$ kubectl get svc
NAME                              TYPE           CLUSTER-IP      EXTERNAL-IP     PORT(S)        AGE
[...]
laravel-in-kubernetes-webserver   LoadBalancer   10.245.76.55    157.245.20.41   80:30844/TCP   12d
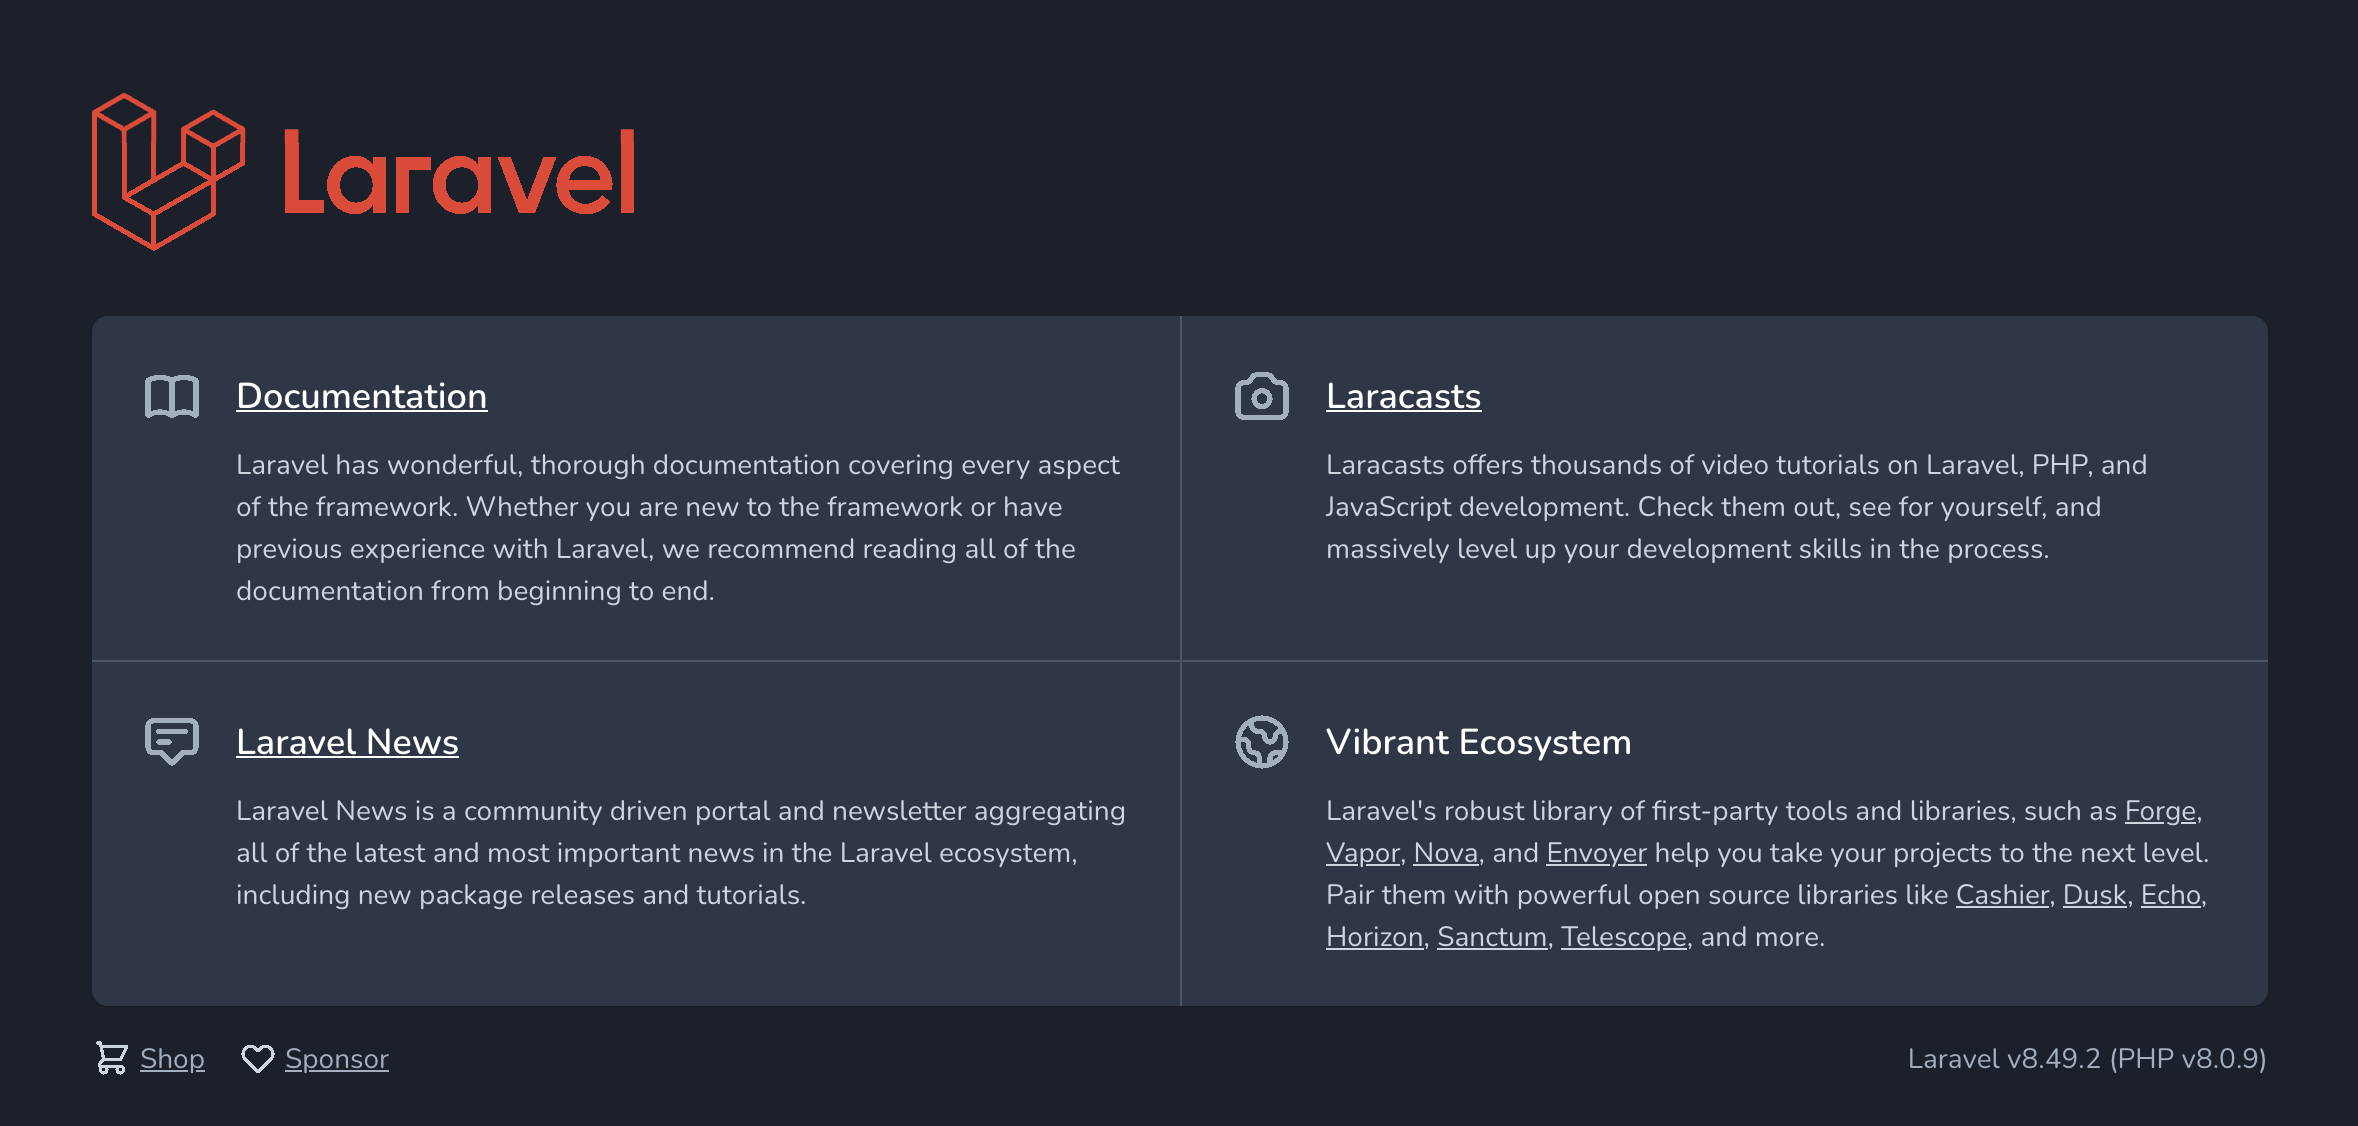
In this case my IP is 157.245.20.41. If I open in up in my browser it show the application
You can also see the load balancer created in the DigitalOcean UI.
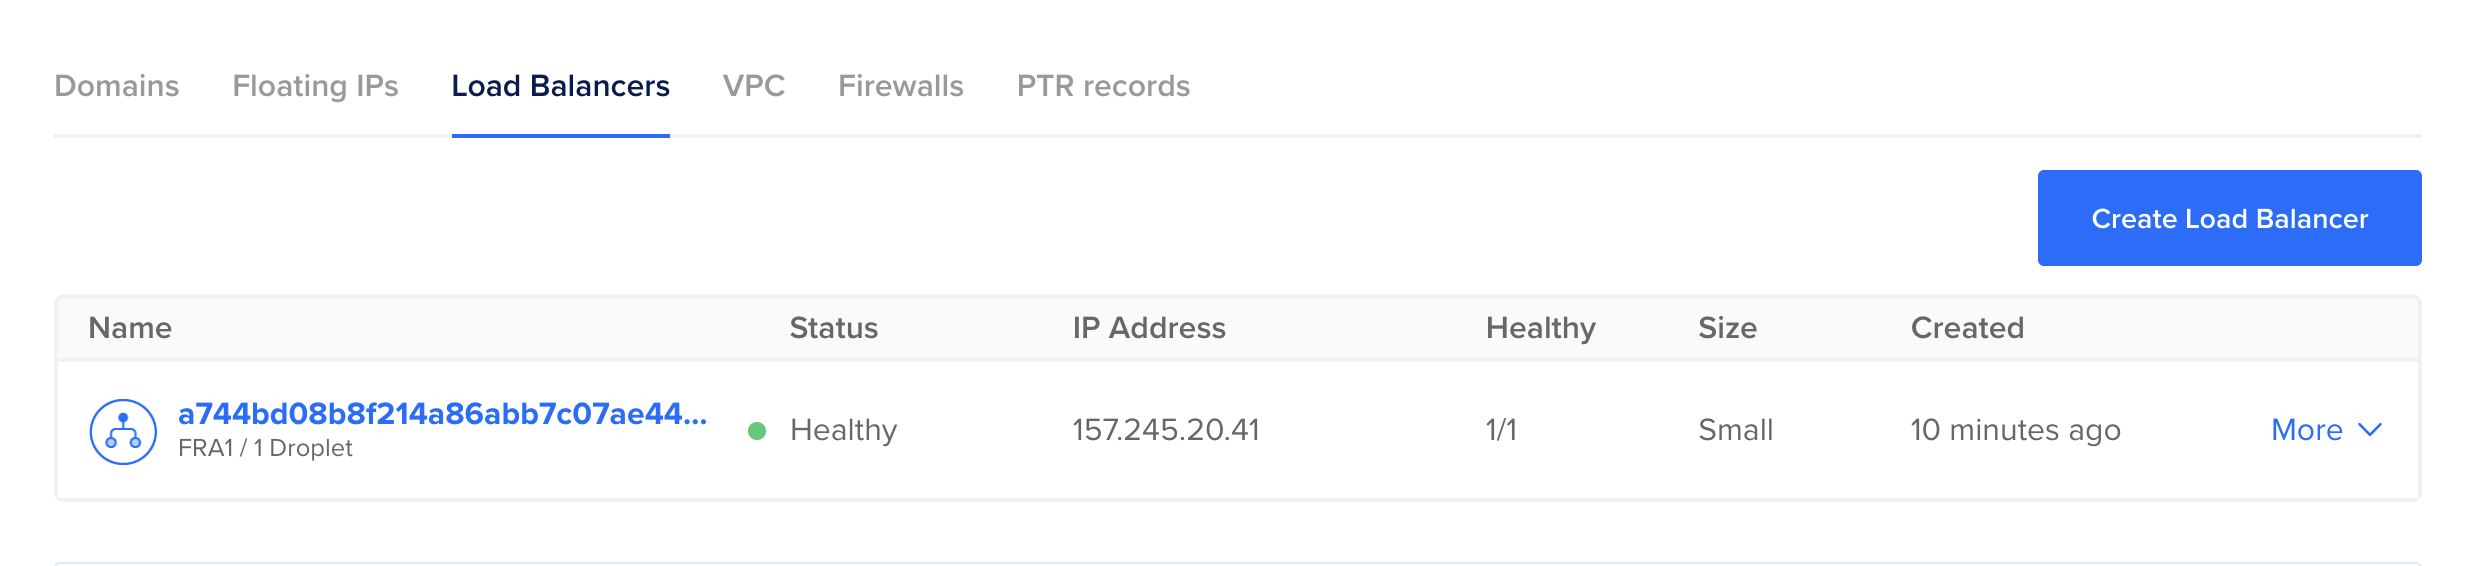
To learn more about configuring Load Balancers in this way, you can have a look at this page for DigitalOcean. It has many configurable settings.
For the moment though, if you followed along and created the LoadBalancer Service, now would be a good time time to delete it, as we are going to create one in the next section.
Update the webserver/service.yml file once more and remove the type: LoadBalancer line
# webserver/service.yml
apiVersion: v1
kind: Service
metadata:
  name: laravel-in-kubernetes-webserver
spec:
  # Commented for clarity, but you can simply remove it entirely
  # type: LoadBalancer
  selector:
    tier: backend
    layer: webserver
  ports:
    - protocol: TCP
      port: 80
      targetPort: 80
Now we can apply that, and the Load Balancer should be deleted automatically in DigitalOcean.
$ kubectl apply -f webserver/
deployment.apps/laravel-in-kubernetes-webserver unchanged
service/laravel-in-kubernetes-webserver configured

$ kubectl get services
NAME                              TYPE        CLUSTER-IP      EXTERNAL-IP   PORT(S)    AGE
[...]
laravel-in-kubernetes-webserver   ClusterIP   10.245.76.55    <none>        80/TCP     12d
You'll notice that the external IP no longer exists. You can also check the DigitalOcean UI, and you'll see the LoadBalancer no longer exists.

Installing the Nginx Ingress Controller
Our preferred method for exposing applications, is by deploying an Ingress controller to the Kubernetes Cluster, and then exposing the Ingress using a LoadBalancer.
This allows us to create a single LoadBalancer for our cluster and all the applications in our cluster, whilst easily creating the correct routing rules, and pointing a DNS entry at our LoadBalancer.
In total, we will easily expose our applications, and configure any custom configurations we need.
Deploying the controller
First we need to deploy the controller. The documentation is available here
We are using the DigitalOcean Kubernetes Service, and therefor will be using the DigitalOcean specific provider.
You can have a look at all the different providers here https://kubernetes.github.io/ingress-nginx/deploy/#provider-specific-steps
We want to version control the Ingress Controller, so we can visibly see any changes if we every update. What we will do for this case, is instead of applying directly from the URL, we will create an ingress directory, and create the manifest in that directory.
$ mkdir ingress-controller
$ wget https://raw.githubusercontent.com/kubernetes/ingress-nginx/controller-v1.0.0/deploy/static/provider/do/deploy.yaml -O ingress-controller/controller.yml
You can inspect this file to see all the parts which get deployed for the Ingress controller.
The defaults should suffice for our application, so we can apply that.
$ kubectl apply -f ingress-controller/
namespace/ingress-nginx unchanged
serviceaccount/ingress-nginx unchanged
configmap/ingress-nginx-controller configured
clusterrole.rbac.authorization.k8s.io/ingress-nginx unchanged
clusterrolebinding.rbac.authorization.k8s.io/ingress-nginx unchanged
role.rbac.authorization.k8s.io/ingress-nginx unchanged
rolebinding.rbac.authorization.k8s.io/ingress-nginx unchanged
service/ingress-nginx-controller-admission unchanged
service/ingress-nginx-controller configured
deployment.apps/ingress-nginx-controller configured
ingressclass.networking.k8s.io/nginx unchanged
validatingwebhookconfiguration.admissionregistration.k8s.io/ingress-nginx-admission configured
serviceaccount/ingress-nginx-admission unchanged
clusterrole.rbac.authorization.k8s.io/ingress-nginx-admission unchanged
clusterrolebinding.rbac.authorization.k8s.io/ingress-nginx-admission unchanged
role.rbac.authorization.k8s.io/ingress-nginx-admission unchanged
rolebinding.rbac.authorization.k8s.io/ingress-nginx-admission unchanged
job.batch/ingress-nginx-admission-create unchanged
job.batch/ingress-nginx-admission-patch unchanged

$ # After a few minutes (usually about 10), the ingress service will be available with an external IP
$ kubectl get service -n ingress-nginx
NAME                                 TYPE           CLUSTER-IP       EXTERNAL-IP       PORT(S)                      AGE
ingress-nginx-controller             LoadBalancer   10.245.228.253   104.248.101.239   80:30173/TCP,443:31300/TCP   6m21s
The Nginx Ingress Controller is now deployed and ready to be used.
Adding an Ingress for the application
The next piece we need to do is add an actual Ingress resource for our application to configure how the Ingress should be routed.
In the Deployment repo once again, we can add this.
In the webserver directory, create a new file called ingress.yml with the following contents.
apiVersion: networking.k8s.io/v1
kind: Ingress
metadata:
  name: laravel-in-kubernetes-webserver
spec:
  ingressClassName: nginx
  rules:
  - http:
      paths:
      - path: /
        pathType: Prefix
        backend:
          service:
            name: laravel-in-kubernetes-webserver
            port:
              number: 80
This tells our Ingress Controller how to route requests to our application. In this case the base path on our Ingress will route to our webserver deployment.
Apply that, and if you open the IP of your service in your browser, you should see your application running successfully through the Ingress.
$ kubectl apply -f webserver
kubectl apply -f webserver/
deployment.apps/laravel-in-kubernetes-webserver unchanged
ingress.networking.k8s.io/laravel-in-kubernetes-webserver created
service/laravel-in-kubernetes-webserver unchanged

$ kubectl get services ingress-nginx-controller -o jsonpath='{.status.loadBalancer.ingress[0].ip}' -n ingress-nginx
104.248.101.239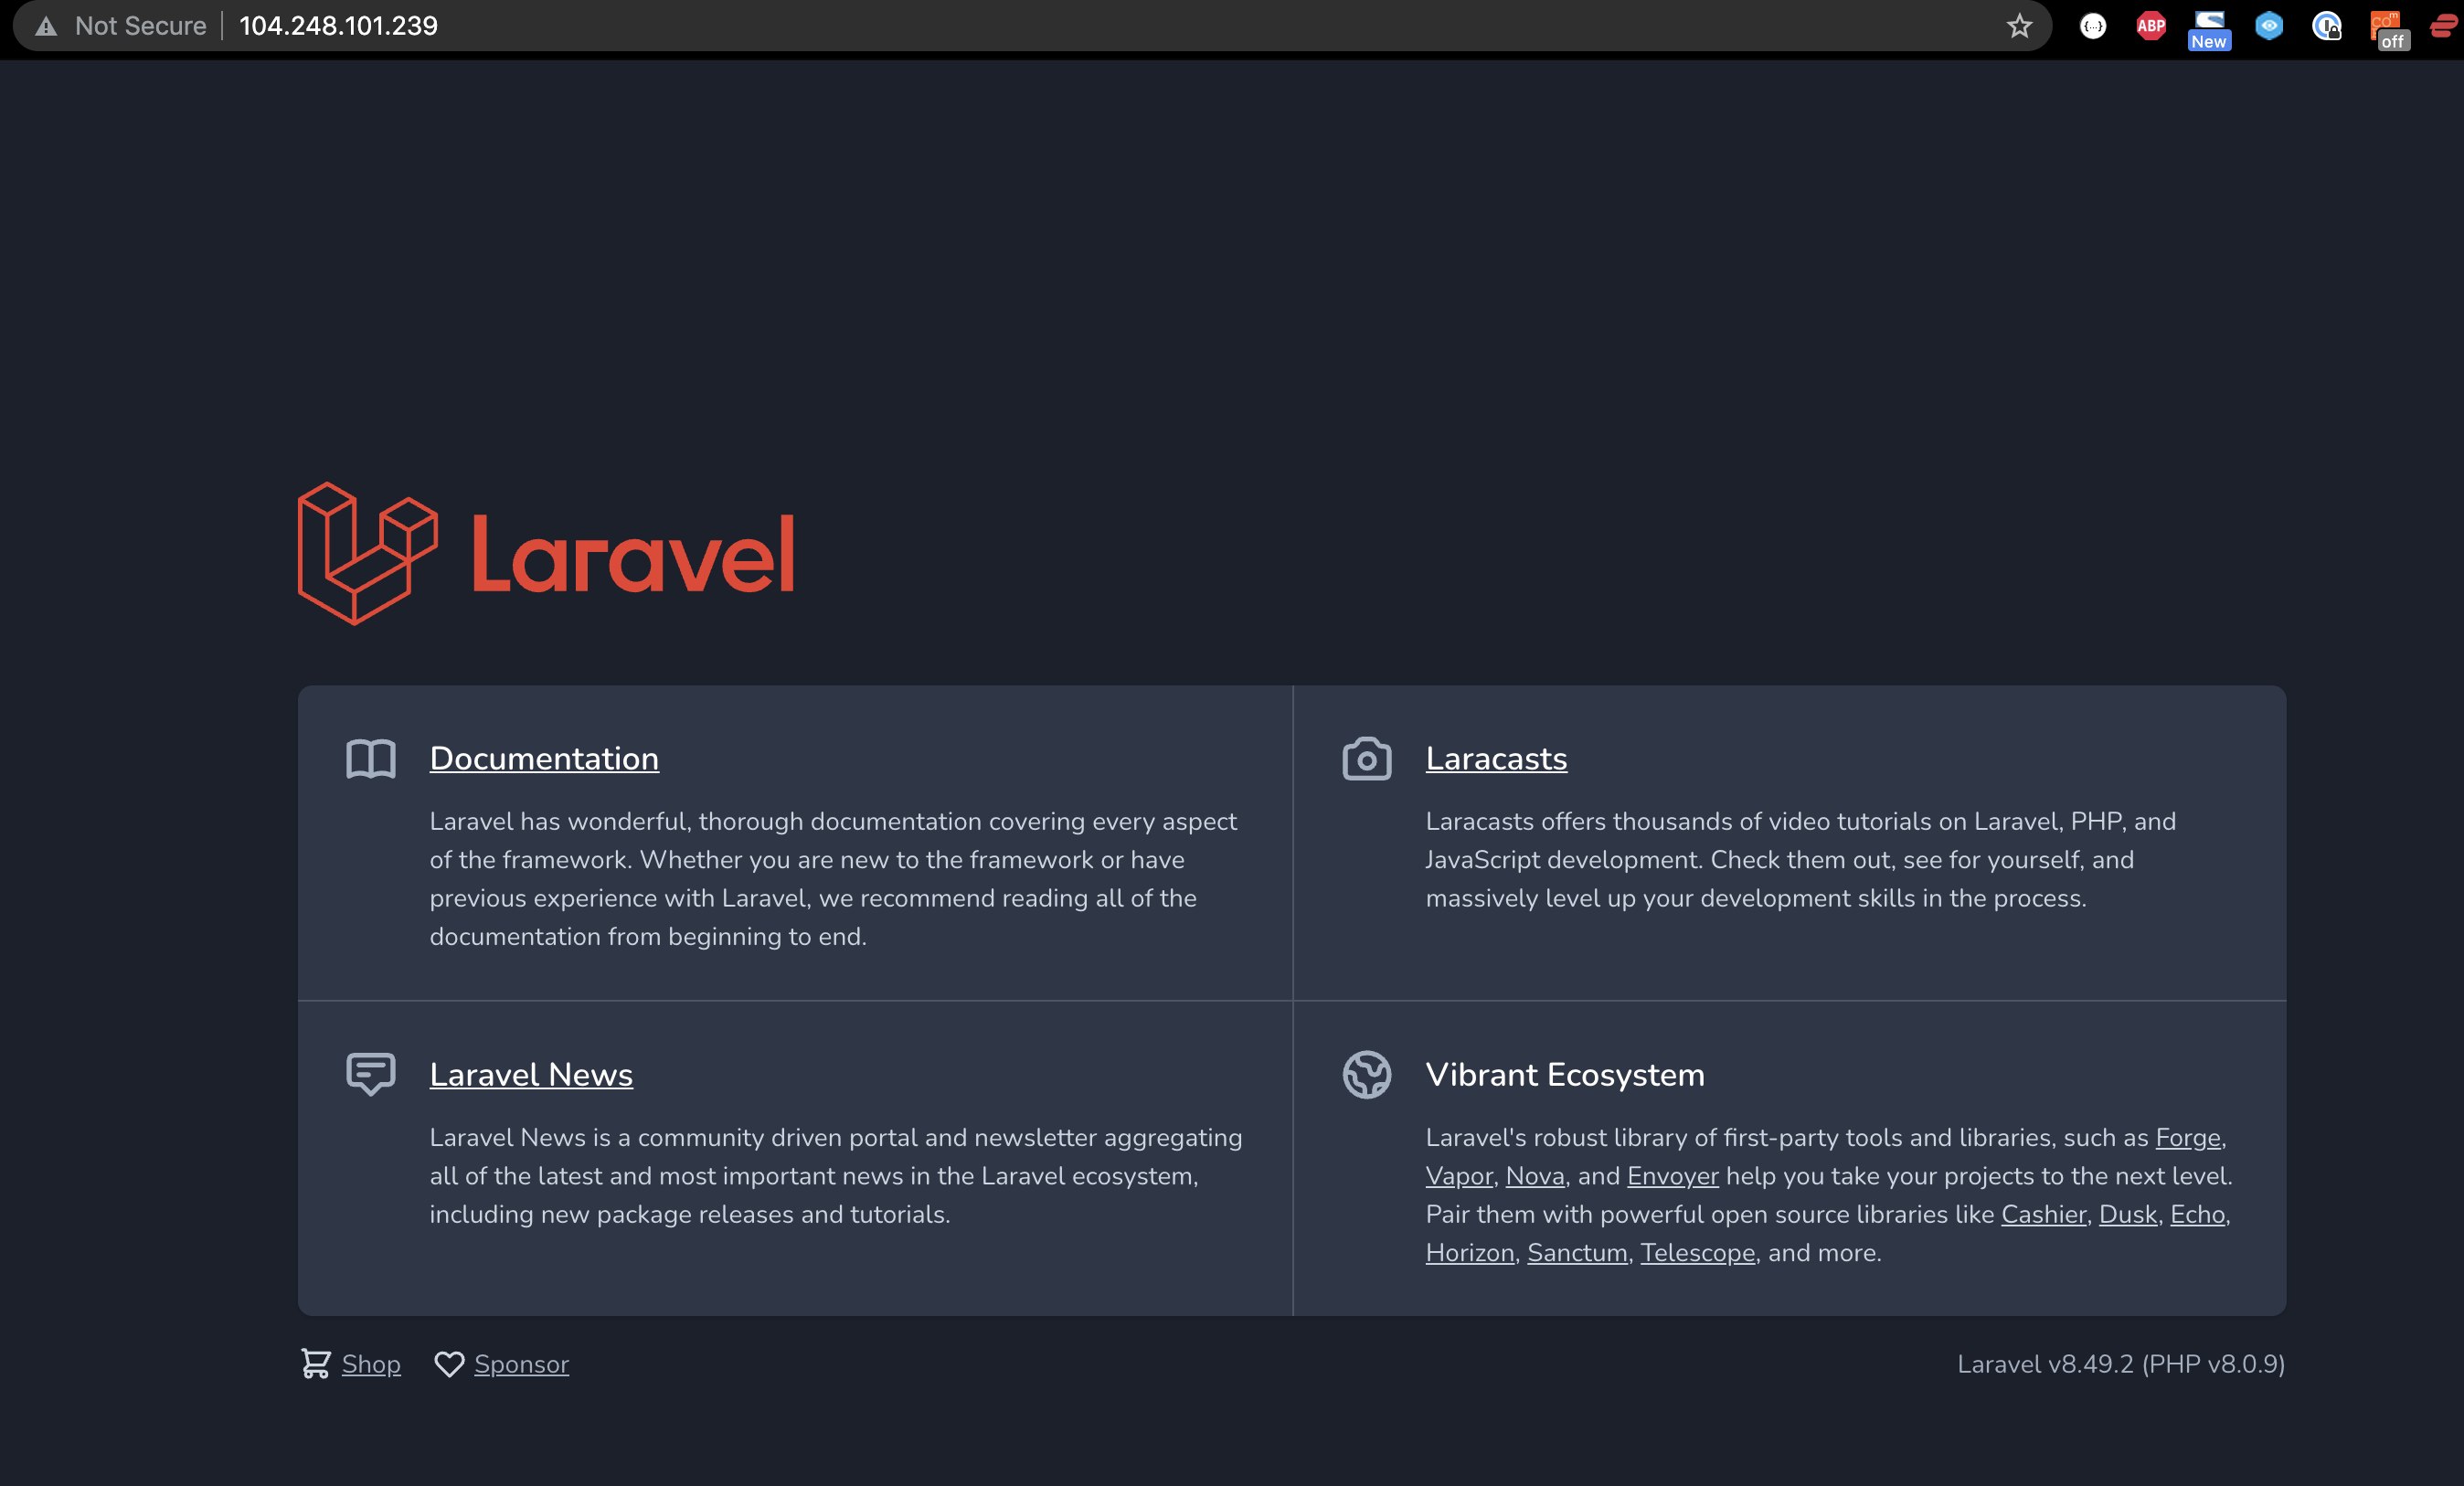
The application is now exposed on the public domain and going through our Load Balancer.
Load Balancer reports nodes as down
In DigitalOcean, when you have a LoadBalancer in front of your nodes, it will automatically check the health of the NodePorts exposed by the worker nodes.
BUT, if the LoadBalancer service, in this case the ingress-controller, is deployed on only one node, only that node will report as successful.
This is not really a problem, and looks more pressing than it necessarily is.
There are a few ways to fix this though if you think it's necessary.
Update the Ingress Controller to a DaemonSet.
Updating the Ingress Controller Deployment to a DaemonSet will deploy a pod per node, and DigitalOcean will be able to detect each when doing the HealthChecks.
Update the externalTrafficPolicy for the Ingress Deployment to Cluster
You could set the externalTrafficPolicy on the Ingress Controller Service to "cluster", but this will lose the source IP address of the originating client.
You can see here for more details.
Onto the next
Next, we're going to look at adding certificates for our API, so we can server the application using https.